 |
| A rough mock-up of the finished gown |
Although not my first attempt at making a Renaissance era costume, this is the first one I actually completed. I wore it to the Michigan Renaissance Faire in September of 2009. According to my construction notes, I started working on it a month before...
My starting materials:
 |
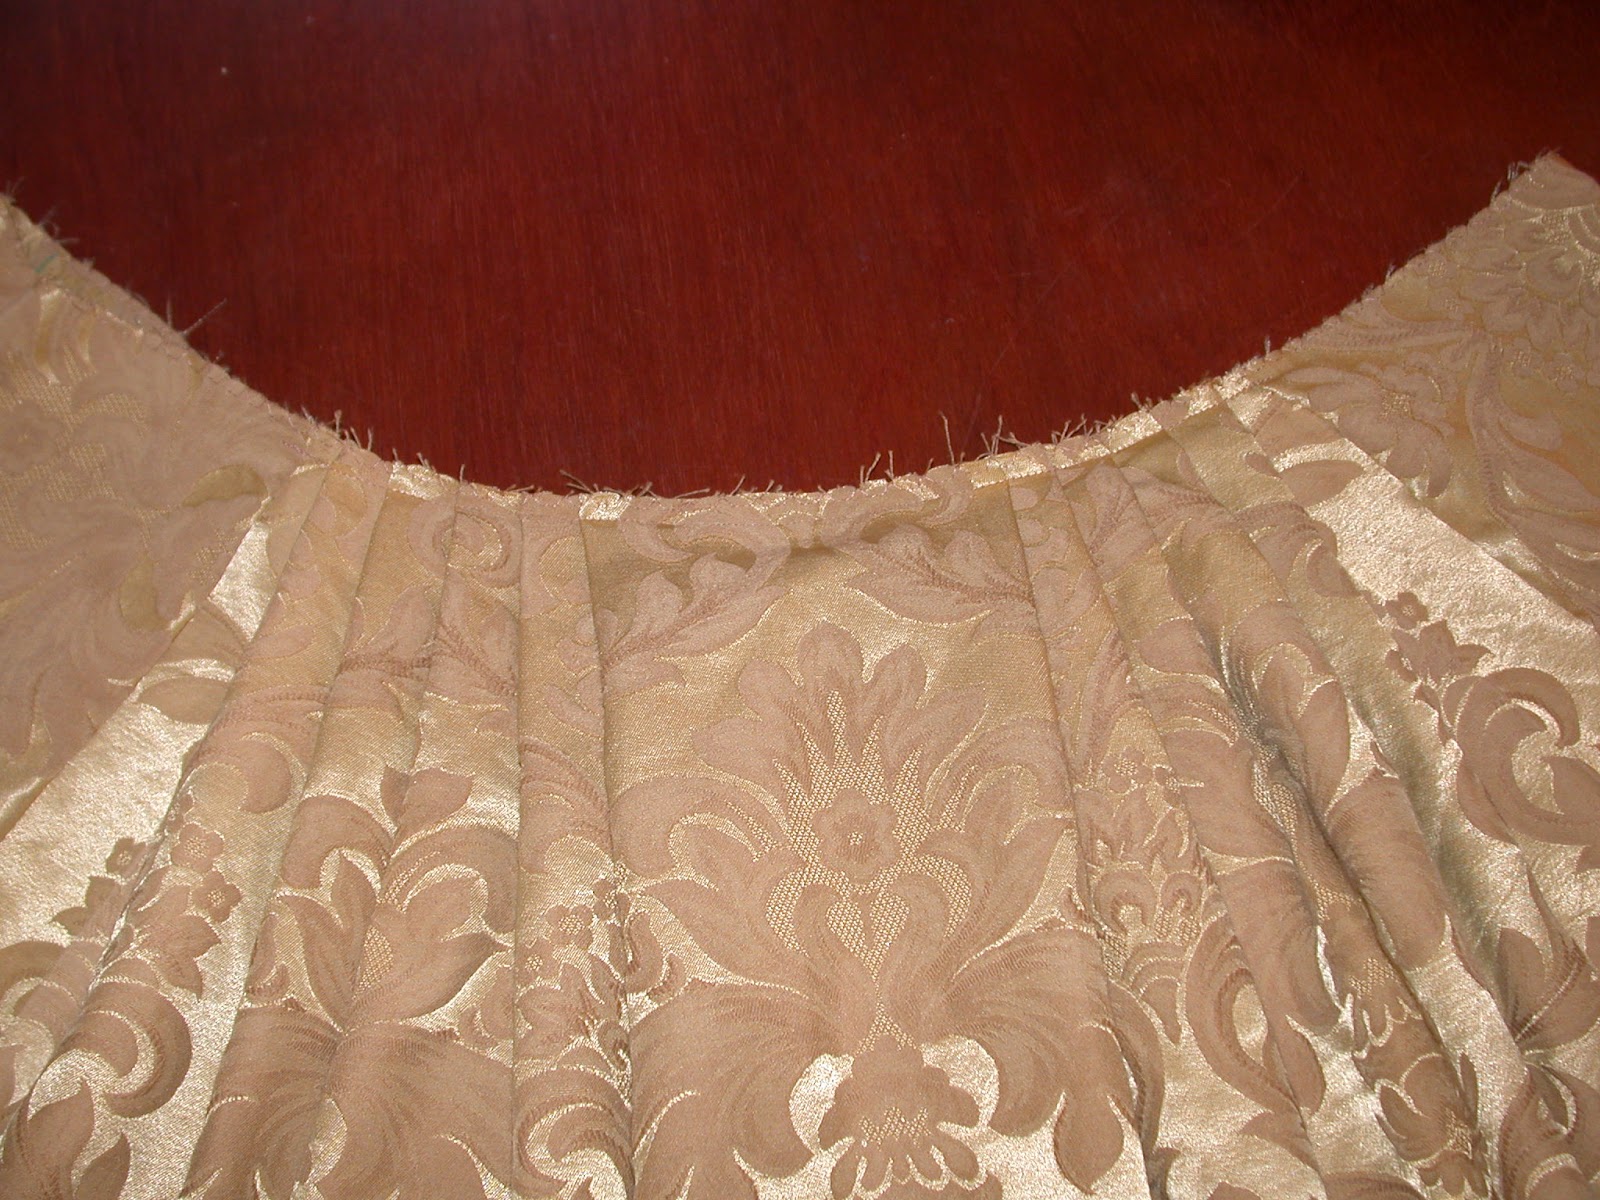
| Underskirt 1 - Gold brocade (with flash) |
 |
| Underskirt 2 - blue & red Paisley stripe (no flash) |
I started with the bodice, for which I used a navy blue stretch velour top that was too small for me. I cut off the sleeves and used the front pattern piece from Simplicity 5836 (view B) to roughly shape the V-neckline I wanted.
I lined it with navy crepe which I had originally planned to also use for the overskirt, but I changed my mind and ended up using a lovely navy satin instead. Now, since I was using stretch velour, I cut the lining on the bias so it would stretch along with the outer fabric. Lining it all up correctly was a pain! And one side ended up longer than the other:
 |
| Checking the fit |
I evened it out when I attached the skirt, so no big deal. I used hem tape as facing on the armholes, which worked rather well. I sewed it to the edge by machine, and then turned it under and hand-tacked it to the lining.
For the overskirt I used Butterick 6391, which I had used for my first Prom dress back in 2002! Ahhh, memories... Anyway, I loved the pleated back. Of course, I modified it to exclude the zipper and opened the skirt in front.
 |
| The underskirt fabric is just held in place by my hands, at this point. |
I hand-tacked gold cord, wrapped in narrow metallic braid, to the front edges of the gown once it was complete:

The underskirt was a challenge. I decided to make the gold brocade one first, and I wanted to make it reversible and adjustable so that either I or my sister could wear it. (I was already planning the Green Gown I made for her a year later.) To achieve this, I used the gold brocade for the front and sides, and some green upholstery fabric for the back (or alternate front). Both sides were too short, so I added contrasting bands at the hem, with trim covering the seams:
The sleeves were the biggest challenge. I knew I wanted them slashed, but was unsure how to go about accomplishing that. In the end, I stitched crepe facings on the outside with a very narrow seam allowance around a vertical line I had drawn on with chalk. Then I cut down the line, turned the facings to the inside through the slit, and hand-tacked them down on the inside. Keep in mind I was sewing these slashes on sleeves that were already constructed - not easy! But they came out exactly like I had envisioned:
 |
| Self-portrait in the mirror - no flash |
All I had left to do was add grommets (I know - not period!) to the sleeves so they could be laced up to the shoulders, and I was done! Next post will have many pictures of me wearing the completed gown at the Faire! :)


No comments:
Post a Comment