 |
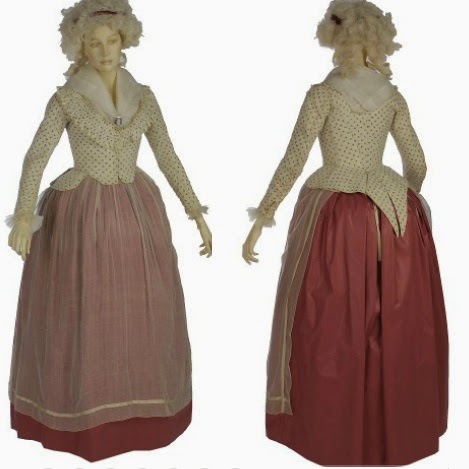
| Victoria & Albert Museum |
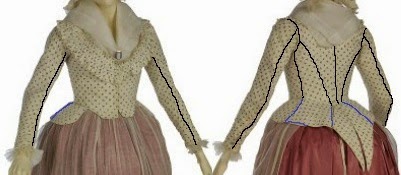 |
| Black lines are seams, blue lines are folds |
This helped me see how the grain lines lay on each piece. I drafted my own pattern, using the swallowtail jacket pattern I used for my Green Swallowtail Jacket as a guide. I added a seam to the back to make it two pieces with an extra pleat to the tail. I also lengthened the center points of the tail.
 |
| On the right is the original back pattern piece, on the left are my newly-drafted back pieces. |
Once I had all my pieces, I tested the layout on the white cotton muslin I was planning to print to make sure that it would be enough. I needed enough extra to make the ruffle around the neck (which I have yet to add).

At this point I printed the fabric. But before I cut it out, I used more plain cotton muslin to make a mockup:


(So I tried it on Anna the dress form with the stays, and tried it on myself without them - not sure why. I was probably too lazy to bother with taking them off the dress form and putting them on myself. :p)

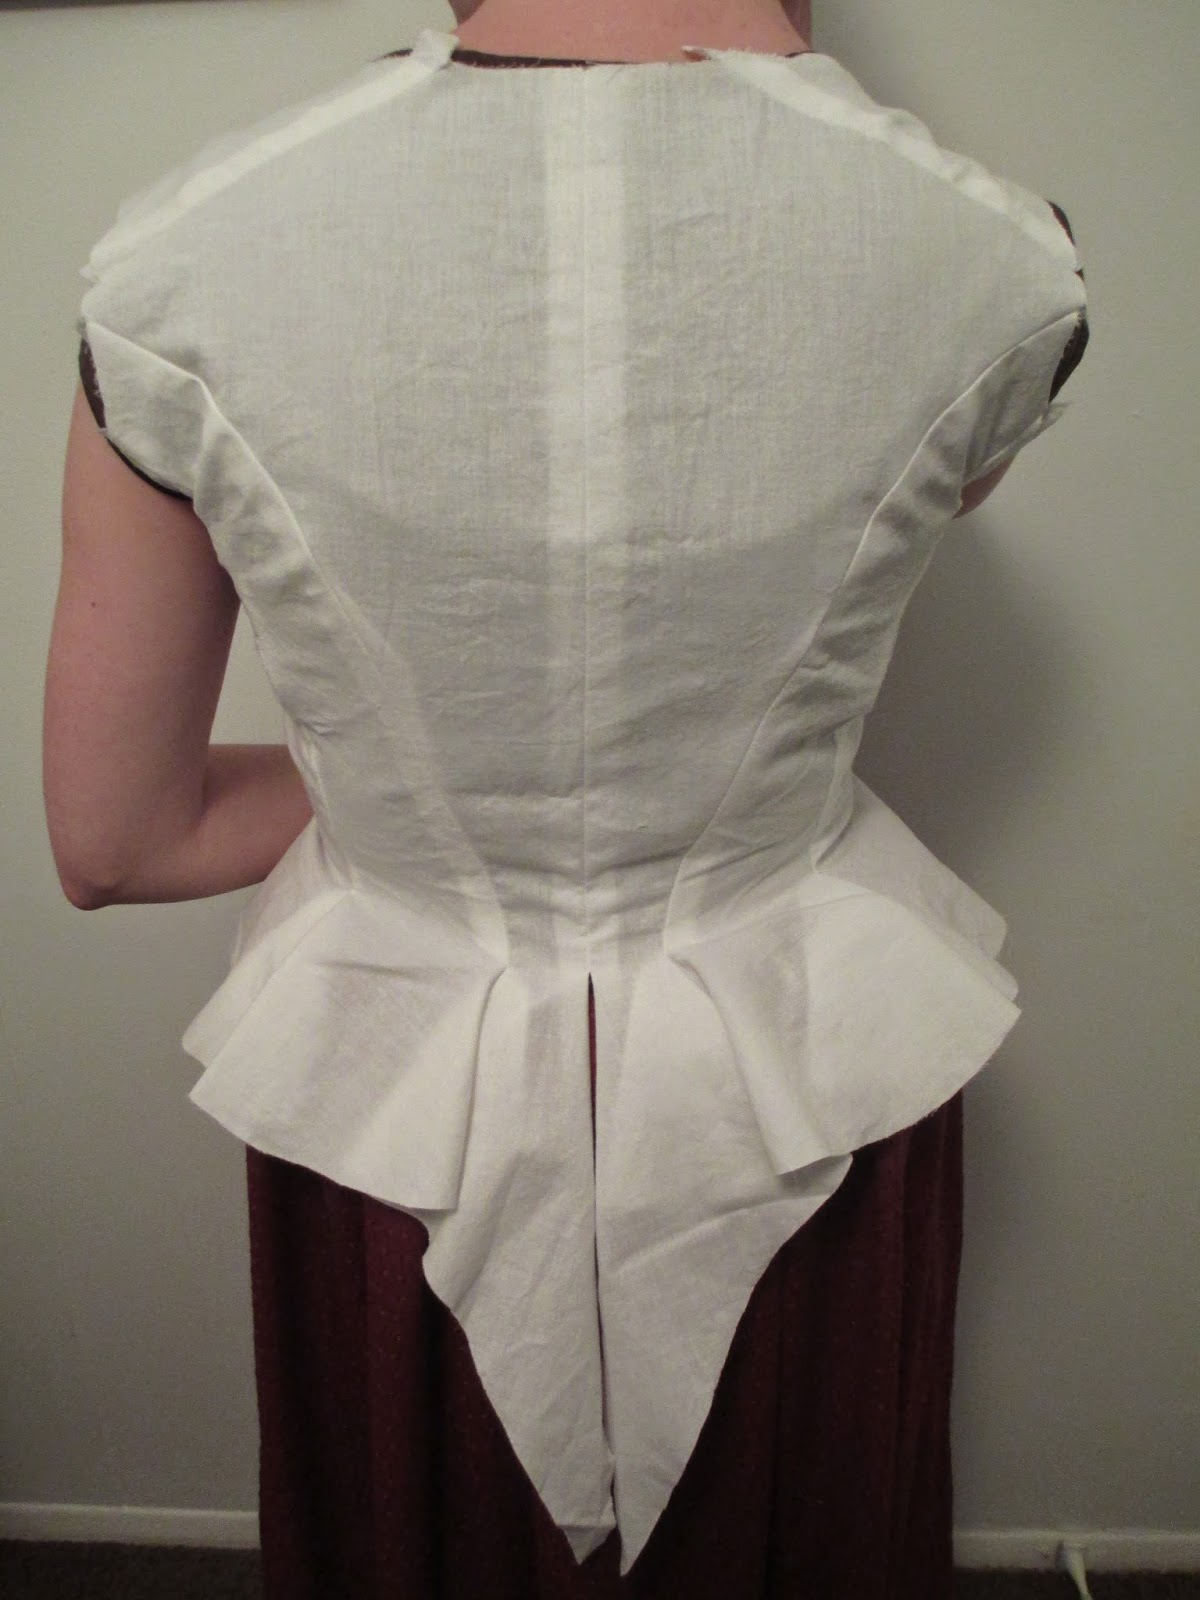
The fit was pretty spot-on, but I did make some minor adjustments to the center front. I ended up using the mockup as the lining, as well. Then I cut out my printed fabric!

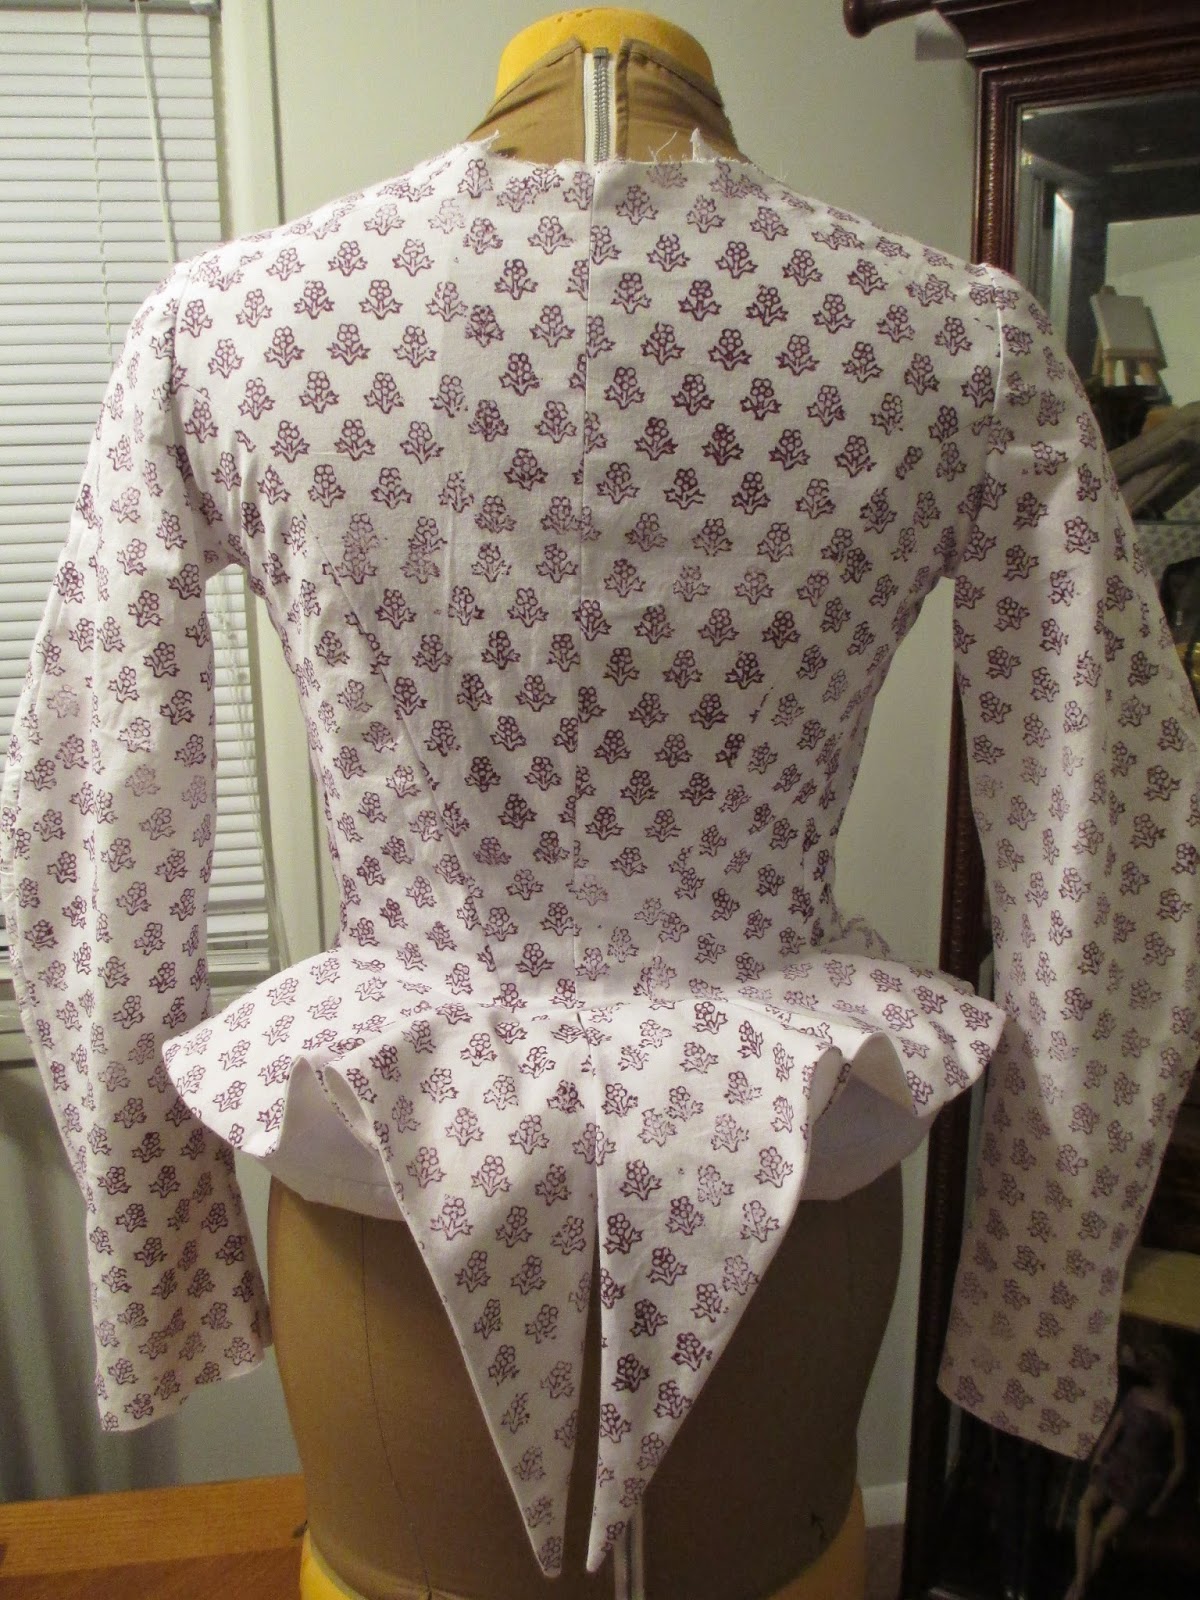
I adjusted the layout to avoid some of the flaws in the printing, but didn't bother with trying to match up the designs at the seams. I knew my printing was not nearly accurate enough to make that work, and I would just drive myself crazy trying.
Once I had the lining in the sleeves, I had to adjust the fit a couple times. First they were too loose and baggy, but then I took in the seams too much and they were too tight. Finally I had to settle for them looking (to me) a little too big at the elbows in favor of comfort. After all, my shift sleeves have to fit in there, too. I kept a 4" slit open at the bottom of both sleeves so my hands could fit through.

I stitched the lining to the fashion fabric all around the bottom and front edges, leaving the neckline open to turn it right side out. I also hemmed the sleeves by sewing the lining and fashion fabric edges right sides together with the bottom edge of the sleeve linings cut 1/2" shorter. With a 1/4" seam allowance, this turns up the hem of the fashion fabric 1/4" on the inside, and makes a really neat finished edge. Then I stitched the edges of the slits at the regular seam allowance.

After I finalized the fit, I stay-stitched the neckline edges together, then added a bias tape channel to the inside for the finished edge. I threaded a drawstring through this channel so I could tighten up the neckline a little to prevent gappage. I also put a couple of narrow reed bones in the front.


These pictures are from Halloween, after I wore the ensemble to work all day:


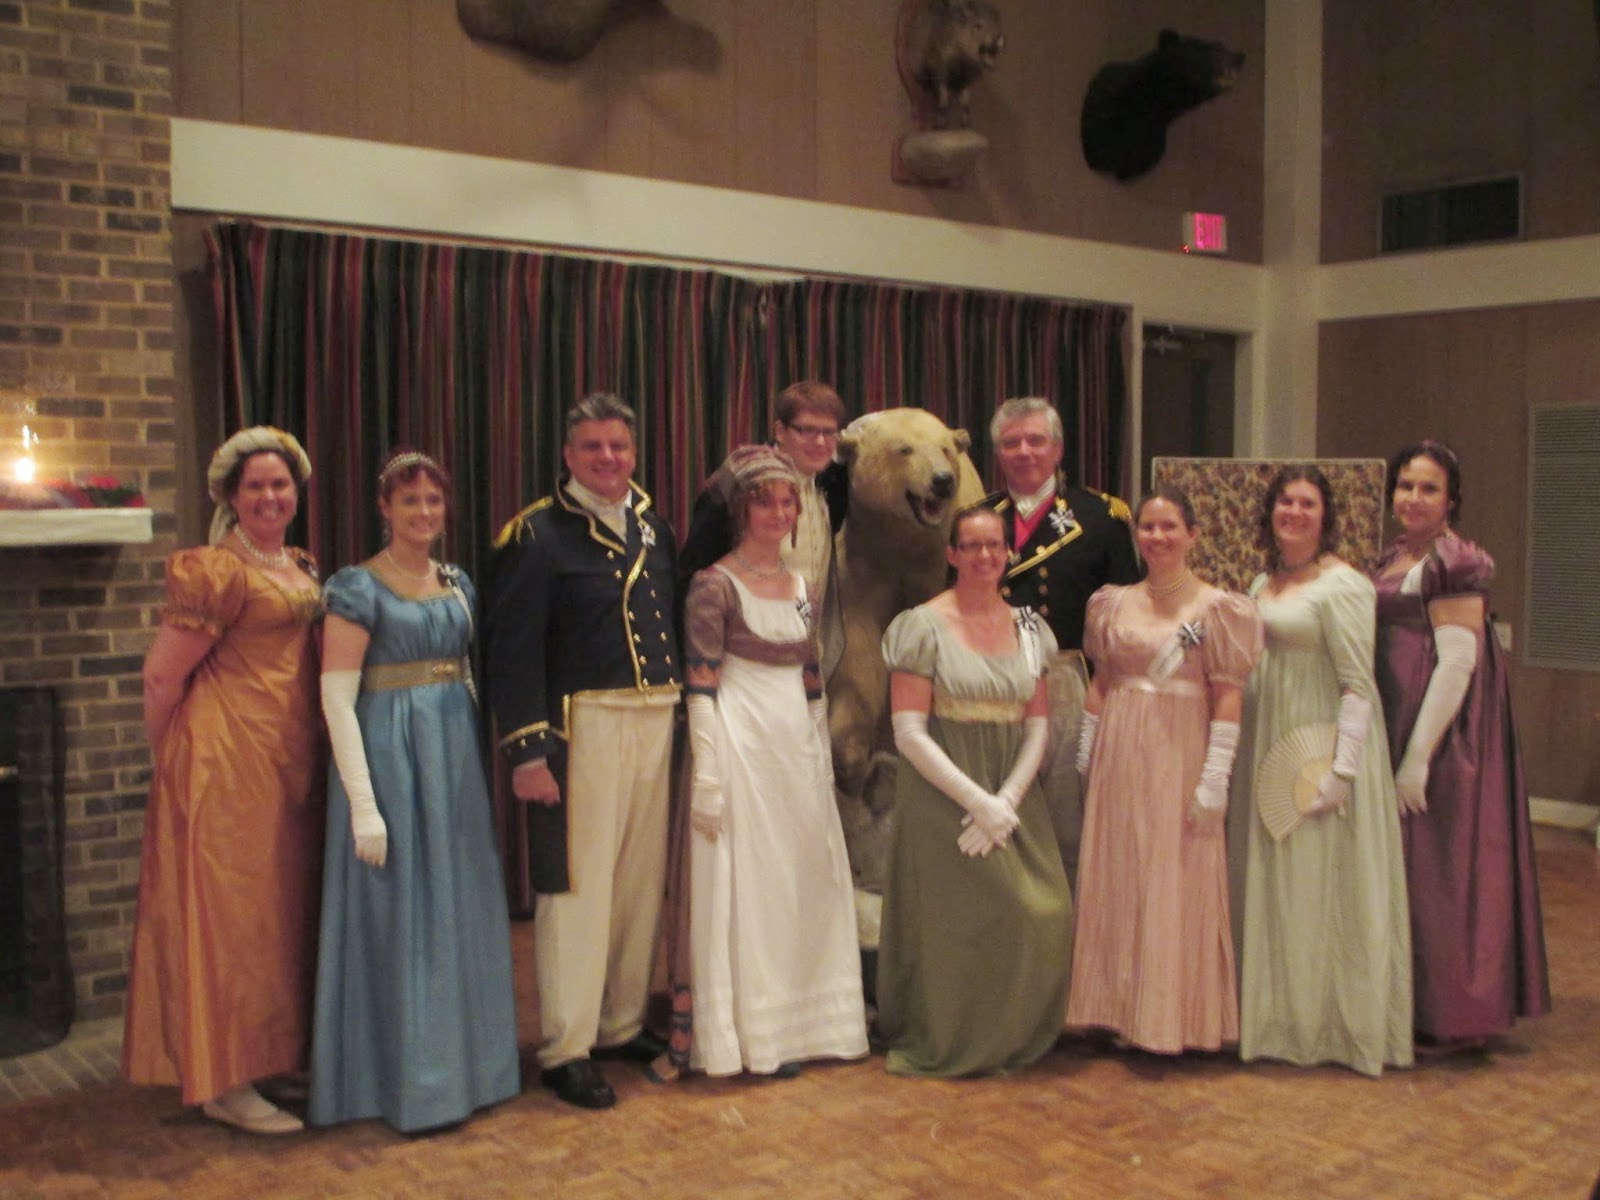
And in case you haven't seen the pics of me wearing the jacket at Colonial Williamsburg, they can be found in my previous post and on facebook.


.JPG)
.JPG)
.JPG)
.JPG)
.JPG)
.JPG)
.JPG)
.JPG)
.JPG)
.JPG)
.JPG)
.JPG)
.JPG)
.JPG)
.JPG)
.JPG)
.JPG)