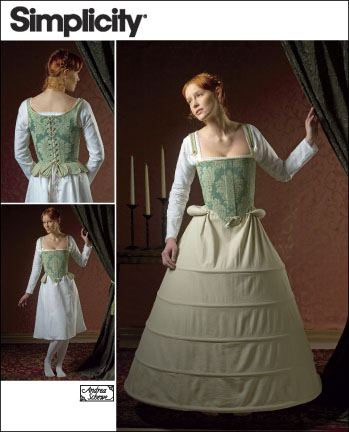
Clearly I am not cut out for running sew-alongs. I can, however, participate in them. Which brings me to my first Historical Sew Monthly post of 2016 - the aptly-named Procrastination Challenge! (This ties into my apology, because my focus for this challenge is 18th Century foundation garments.)
 |
| So far, so good. |
 |
| Zippered plastic bags - especially those with hooks - feature prominently in my sewing room organization system. |
 |
| Another zippered plastic bag in a conveniently circular shape holds my collection of reed boning. |

I inserted a piece of 1/4" reed boning between the layers of coutil and nudged it up against the CF basting stitches, then began stitching right alongside the other edge:
 |
| I'm using a spaced backstitch, which is one of my favorite stitches to use. I decided to go with off-white thread for contrast - totally period. |

This will be slow going, I know. But I think I'll be happier with the finished product than if I were to sew all of those boning channels by machine. And with the bone inserted as I'm sewing, I know that the channels will be the same width and the bones will fit snugly.
Hand sewing hurts my left hand after a while, so I can't work on these continuously. I have been very active in the meantime, though!
 |
| Ignore the mock-stays. They will only ever be worn by my dress form, Anna. |
The Challenge: Procrastination
Material: Linen? Burn test was inconclusive. Also, 1/2" reed boning from corsetmaking.com
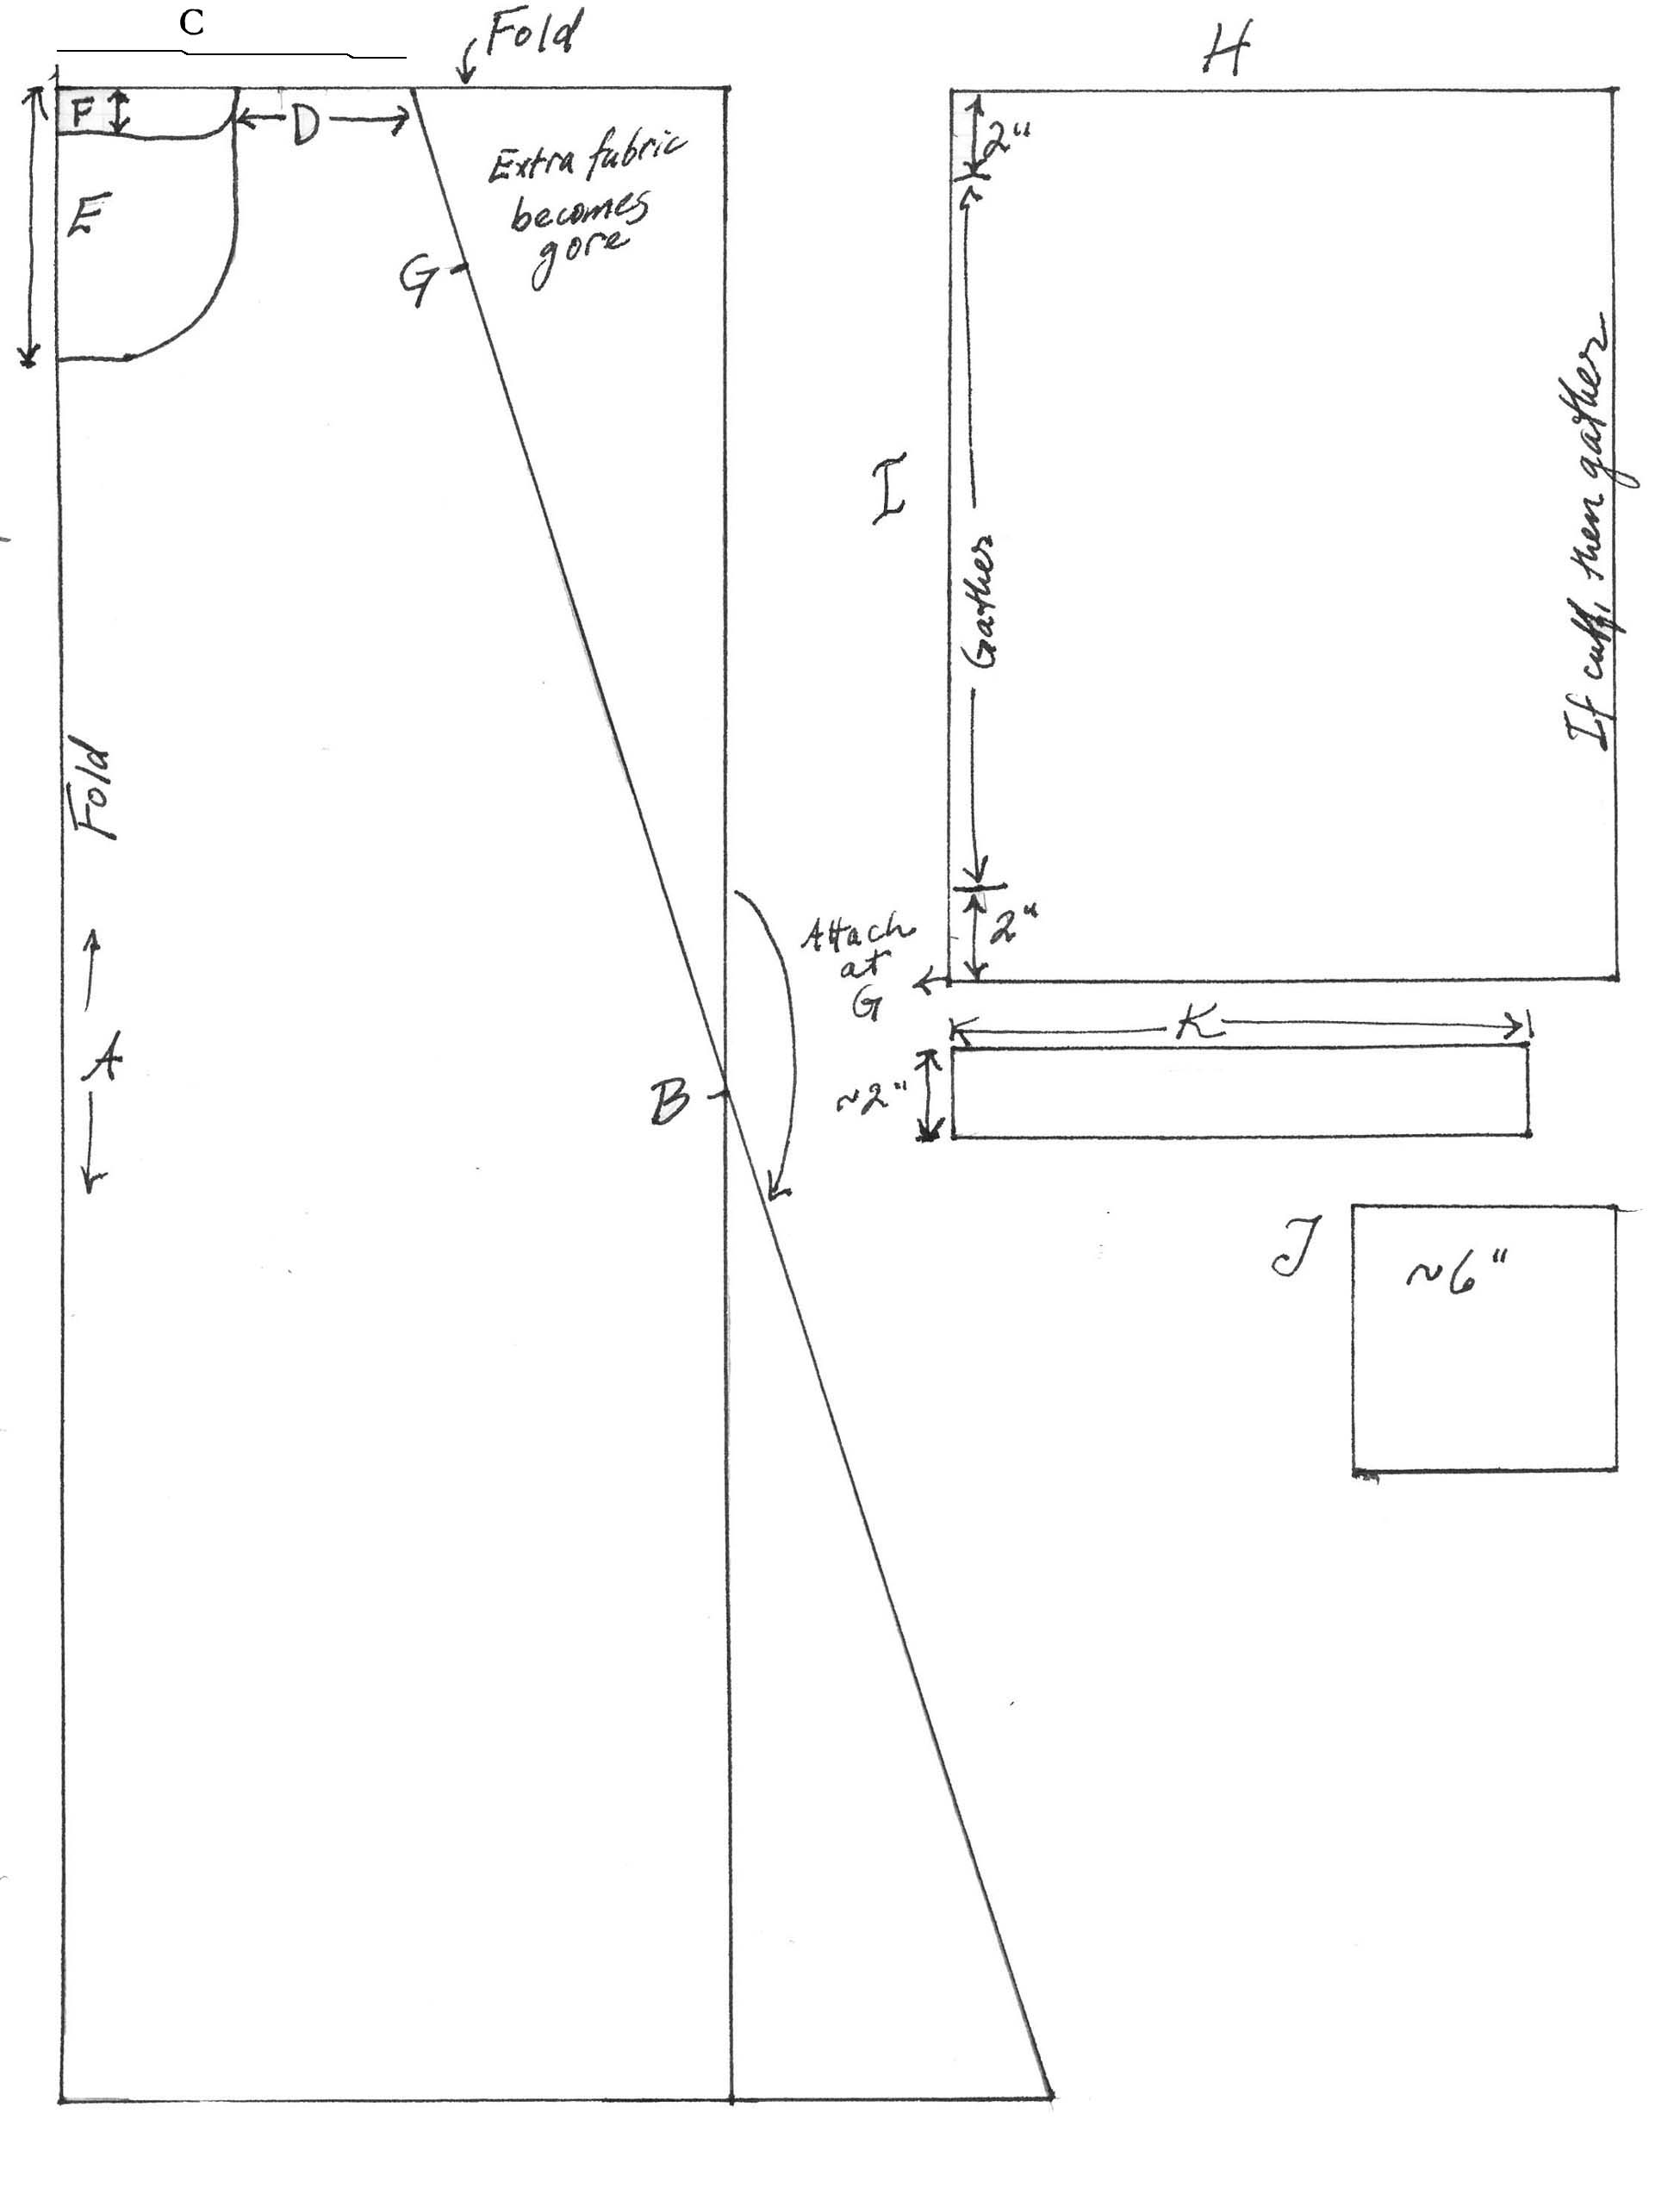
Pattern: Panier-Along tutorial by The Dreamstress
Year: 1760s-1780s
Notions: Cotton twill tape, thread
How historically accurate is it? Pattern-wise, very. Materials-wise, mostly. I'm calling the fabric I used linen even though it suspiciously doesn't wrinkle. Construction-wise, I cheated and sewed it entirely by machine. So kinda? Overall I'd say 80%.
Hours to complete: Not including the overnight soaking of the reed boning, I would say three or four? It went super fast.
First worn: Just for fun so far. I have an event in March where they will be first worn.
Total cost: I believe I paid $1/yard for the fabric from the bargain table at the Costume Design Center, and I certainly used less than a yard. The reed boning is $25/coil, which is approximately 90 feet. I used 12 feet, so approximately $3.33 worth. Thread and twill tape were in my stash, so total cost is around $4.00
~ ~ ~ ~ ~