This is my new Historical Sew Fortnightly Embellish project. I still haven't decided how I want to embroider the yellow shawl, and I need to figure that out before I go buy gobs of embroidery floss. However, I do have a small stash of lots of random colors, and I also need to learn some embroidery stitches and techniques before I tackle such an extensive project. What better way to hone my skills and use up miscellaneous colors of floss than to make a sampler? I already had the perfect candidate for such a job:
 |
| An 18th Century pocket! Shown here nearly completed. |
First I cut out my pieces (I used the pocket pattern from Simplicity 3635) from unbleached muslin and bound the slit edge with fun floral double-fold bias tape from my stash.

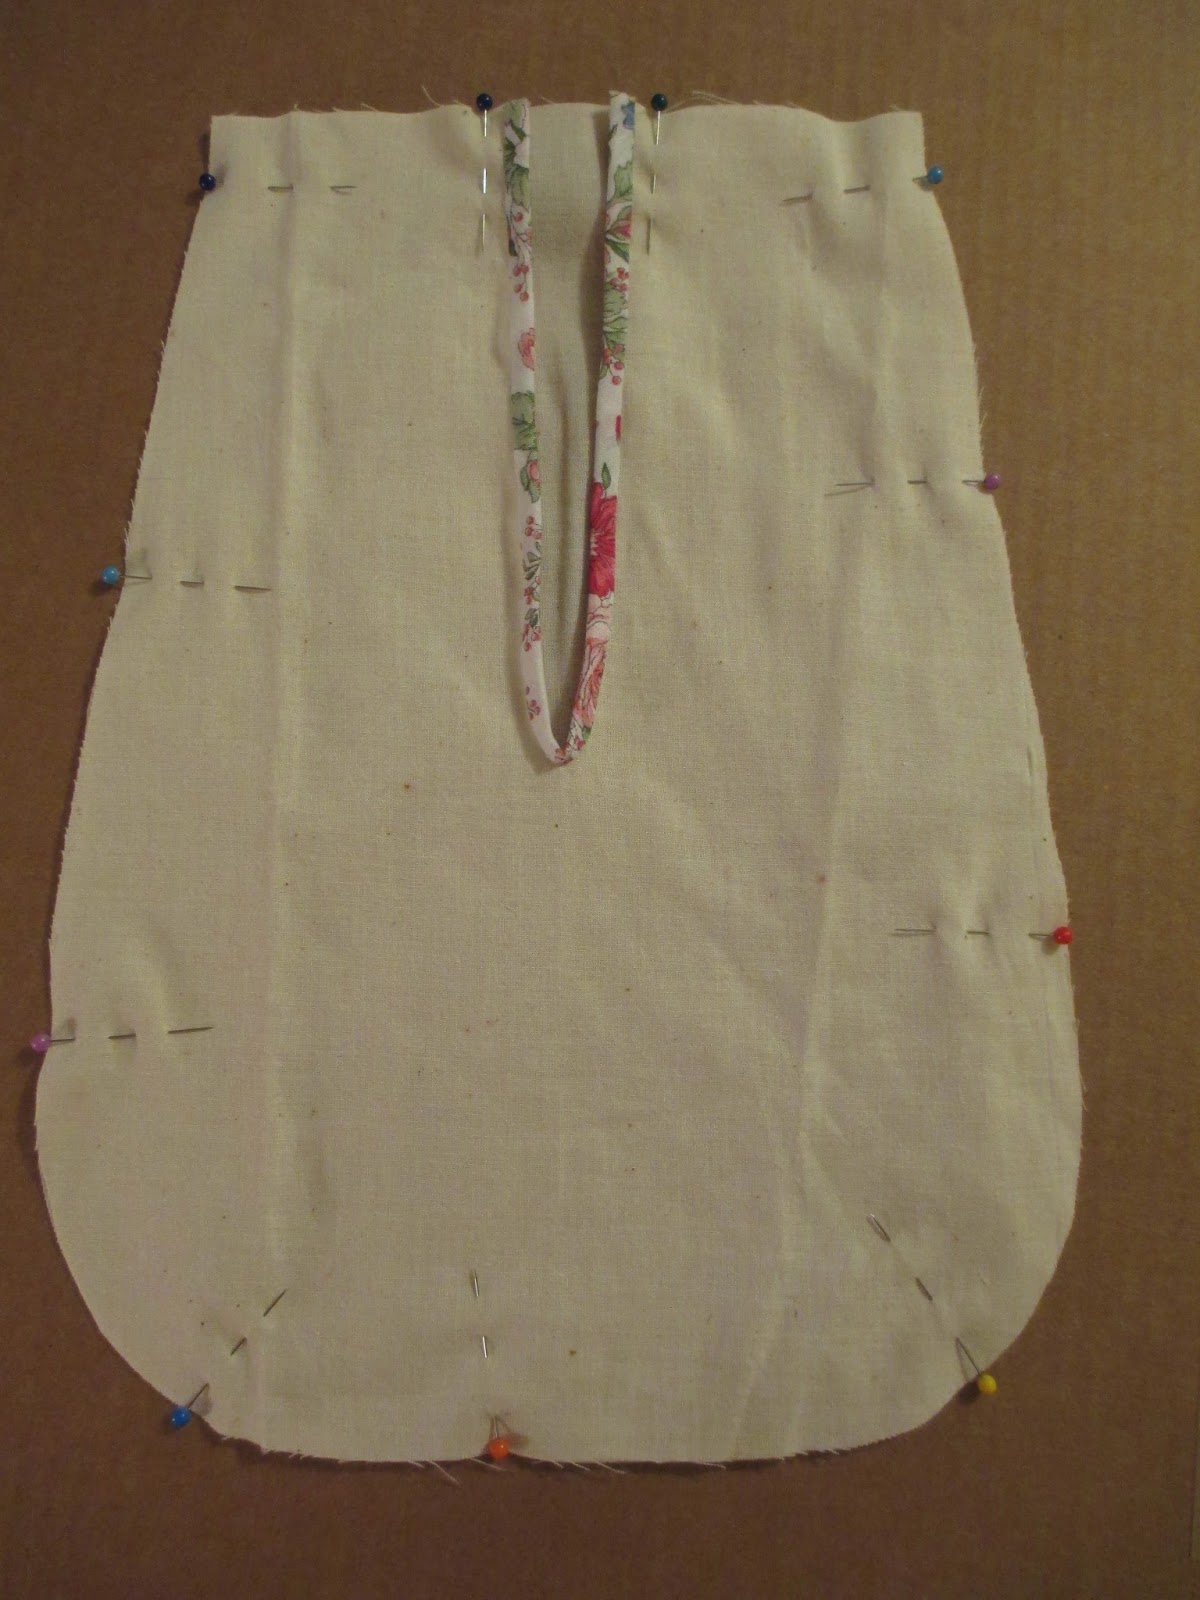

I then bound the outside edges with the same bias tape, using a slipstitch.
I left the ends long at the top so I could fold them over to form a loop for the ribbon to go through when I tie it around my waist. After testing this theory I have decided to add another loop in the center over the slit.
Now it's time to embroider! I used these lovely appliquéd hand towels my mother received as a wedding present in 1980 as inspiration for my design:

I actually traced elements from both onto my pocket front, with pencil. Then I consulted a wonderful reference book which also used to be my mother's:

The book is more than just cross stitch. It has designs and examples of extant samplers, and teaches a wide variety of embroidery stitches.
I was too excited to get started to remember to take photos of my design sketch before jumping right in to the embroidery:

So far I have learned the Flat Stitch, Overlapping Herringbone Stitch, and the Satin Stitch. I chose colors of floss that will match the floral print of the bias tape. The large flowers on the bottom will be pink, and the center one under the top leaf will be yellow. I was surprised at how quickly the embroidery goes, so I may add more flowers up the sides of the pocket in the future. We'll see how I like the finished look.
Next I will be learning the Long And Short Stitch, and French Knots. I really want this pocket to be my sampler, with as many different stitches as possible. And I'm having a lot of fun!
Edit: I just learned that the small leaves and top blue flower petals are the Lazy Daisy Stitch, which I reverse-engineered from studying the embroidery on the towels.
 |
| Lazy Daisy seen here on the yellow flowers and small green leaves |
I have pillowcases like those towels! Your embroidery is so pretty. I've been attempting to learn for years, but alas, it is not to be. Awesome pocket!
ReplyDeleteThank you! That reminds me, my first ever embroidery project was a set of pillowcases... I'll have to dig those up.
ReplyDelete