I had pinned a number of fashion plates to my Ballgown Bodice inspiration board, and ended up really liking these two:

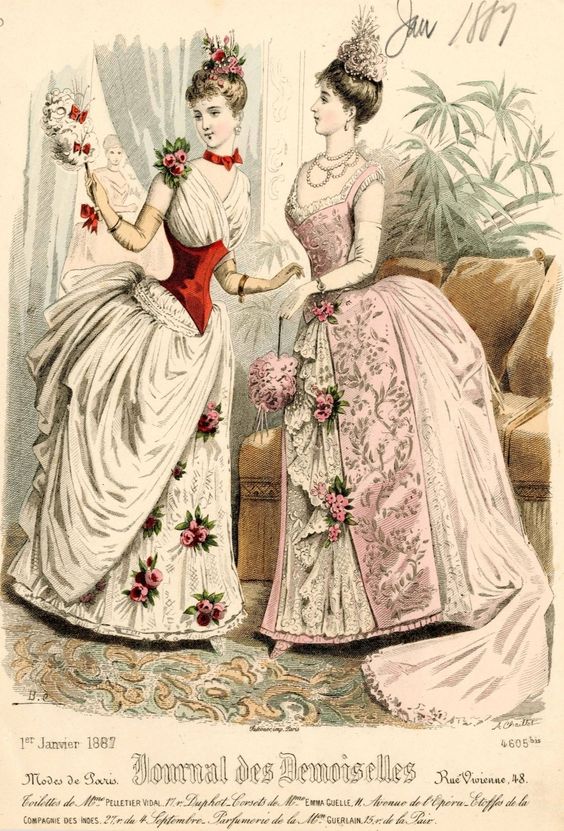
The dark lower section of the bodice really highlights the wasp-waisted aspect of the design, and I had plenty of leftover black velveteen from making the lapels of my original Hufflebustle bodice. I would make the top pleated part from leftover yellow silk taffeta, and possibly use that for the new overskirt, as well. I hadn't decided that part yet when I began work. (Even though I'd known about the event since August, I didn't start actually working on it until two weeks before. Isn't that always the way?)
 |
| Truly Victorian 1885 Cuirass Bodice |

Then I marked a 5/8" seam allowance above the pins:

And cut along this line, keeping the pins in so I cut both sides evenly:

Before disassembling the mockup, I drew little arrows at the top of each piece so I could keep track of which way was up when cutting out my velveteen. I wanted to make sure the nap was going the same way on each piece!

Here are the pieces laid out just before cutting:

I then turned my attention to the top of the bodice. This would need to be drafted, but I used the original tops of the mockup that got cut off as a baseline. I took them apart at the shoulder seams and underarm seams, leaving the side, side back, and back pieces together:
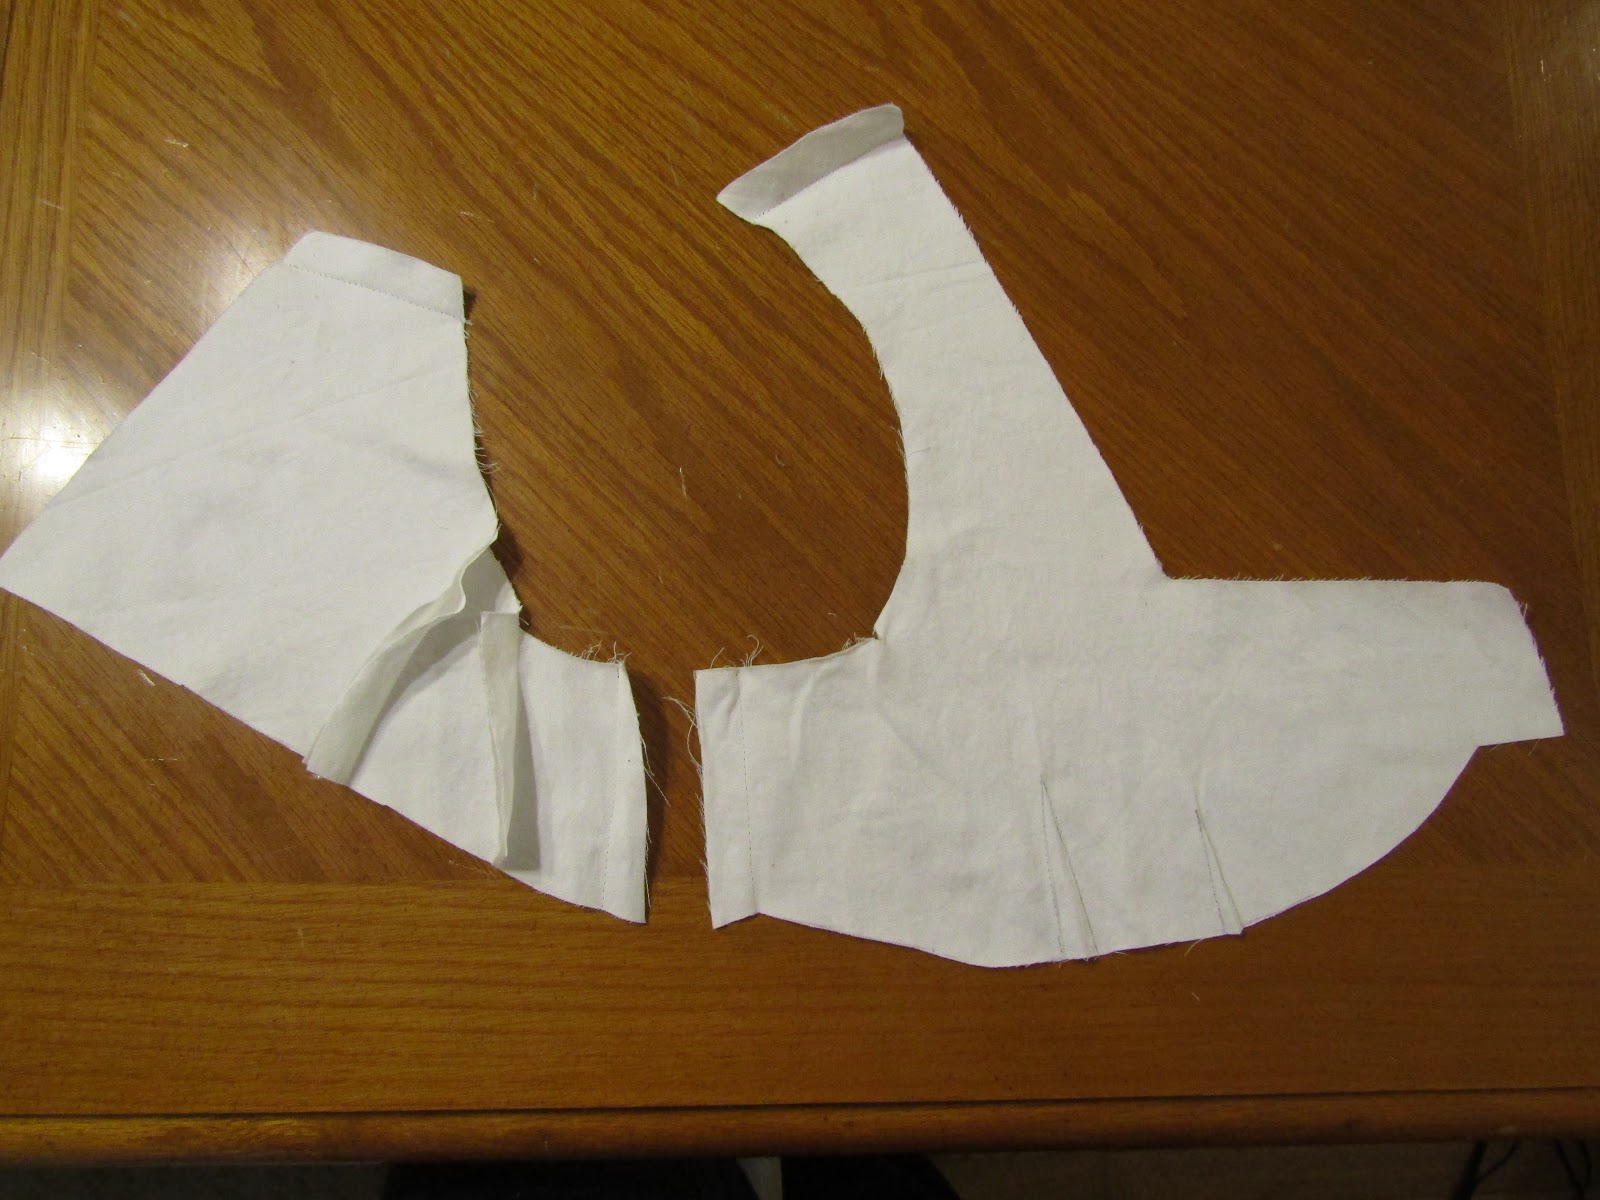
I laid them out on more cotton sateen, leaving enough room for seam allowances:
 |
| You can see I also changed the square neckline to a V |
To account for both sides of a 5/8" seam allowance, I added 1 1/4" to the lower edges of both pieces:

Now to draft the pleats. I used newsprint paper to create the pattern, pleating it every inch or so and pinning it to the cotton piece:

Same treatment for the back:

I cut the paper pieces around the cotton, then unpinned and used these to cut out my silk:

I used the cotton pieces to cut lining from yellow cotton:
 |
| I added an extension to the front pieces because I was concerned they wouldn't meet in front. |

I used the cotton sateen as interlining, to keep the yellow silk pleats all together:

I also used the lower cotton sateen pieces to flat-line the black velveteen, for added stability. I hand-basted all around the edges, and down the center of each dart, then stitched the pieces together by hand using a spaced backstitch. The nice thing was that because the mockup pieces had already been sewn together, I could use the holes from the original stitching line as a guide for my hand-stitching! Perfect 5/8" seam allowance without constantly having to measure!

It may seem fiddly and time-consuming to hand-stitch each and every seam and dart - and believe me, it was! - but it made dealing with the velveteen so much easier than machine-sewing would have been.
At some point during bodice construction, I figured out what I wanted to do for the overskirt. I got in my mind that I really needed horizontal stripes in order to evoke a "bee" look. I still had lots of yellow taffeta left, but no suitable black fabric, so I ordered four yards of black silk taffeta from Burnley & Trowbridge.
While I waited for it to arrive, I started on my stripes. I had determined that I would make a plain black overskirt that could be worn separately or with other pieces of my Hufflebustle without looking strange. Besides, piecing horizontal stripes into a draped overskirt would be a huge pain. So I decided to make "floating" stripes of the yellow silk that would be attached to a separate waistband, just for the bee costume.
This still required some drafting, but it seemed less complicated. In order to make the best use of my fabric - because I still wanted to save enough of the yellow silk for a planned future project - I laid my remaining yellow cotton over the silk:

This gave me an idea of how much fabric I had to work with, as I planned to use the yellow cotton to line the stripes. I drew some lines of where I thought the curve would sit so that the stripes would fit over the bustle and remain relatively horizontal. Then I tried the cotton piece on over the original Hufflebustle on the dress form - including bustle and petticoat.

I had to pin some pieces on to complete the rings at the back:

As you can see, I chose to use the yellow silk-covered cotton underskirt instead of the micro-checked one. I decided that it would look better with the black overskirt and the floating stripes, as it would become the lowest stripe under the bottom of the overskirt. The skirt was already basically done - it just needed a skirt hook at the waistband, and a hem.
I was planning to use the same overskirt pattern for the plain black taffeta one. So the checked overskirt was serving two purposes - giving support to the cotton fabric so I could accurately draft the stripes, and showing me how much of the yellow underskirt needed to be covered by the black overskirt! Obviously the entire back, so I planned to just make it longer. I had gotten enough fabric that I could even have a little train in back. However, you can clearly see in this next photo (jumping ahead several steps on the floating stripes and also the bodice) that there was a gap between the hem of the original overskirt and the top of the silk on the underskirt in the front:

I measured the largest area that needed to be covered, and planned to add a 6" ruffle to fill in the gap.
Ok, back to the stripes! I had to piece both the yellow taffeta and the yellow cotton lining, but it ended up working pretty well. Here I have the silk upper piece and the cotton lower piece pinned in place:

It came out to some weird-shaped piecing in the back, but in the end it was worth it:

I ran out of the bright yellow cotton, and ended up using scraps of a paler yellow to complete the lining:

The silk was wider than the cotton piece I had started with, so it got pieced differently.

Then I trimmed up the pieces to match:

Sewed the layers together and turned them right side out. I made the lower stripe in a ring, since it was large enough to be slipped on over my head. The upper ring sits much closer to my waist, so the opening is not quite as big. I made that one as a (curved) strip that fastens in the back with skirt hooks.
The stripes are attached to a waistband by vertical strips of black twill tape, which blend into the black overskirt when worn. They look pretty strange out of context:

I'm glad I mounted them together, though. This made getting dressed much easier, since I knew they would hang properly.
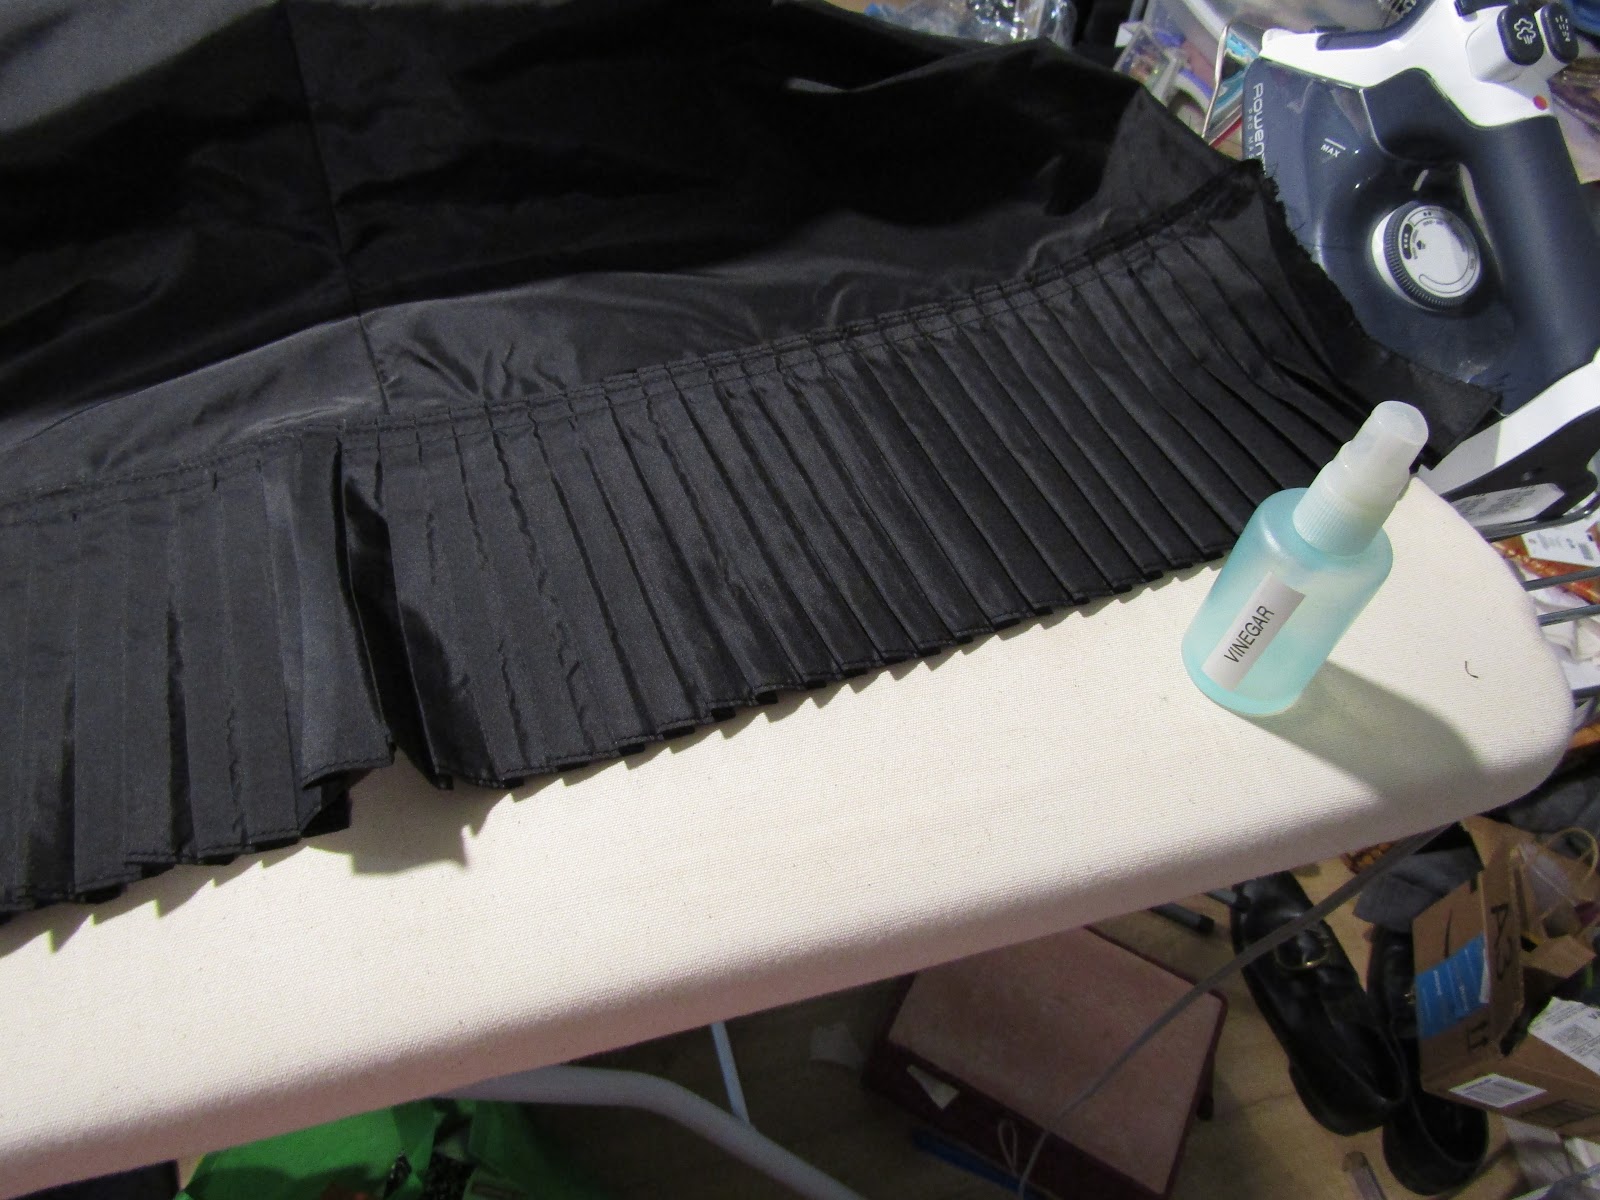
The overskirt went together easily. I used the same pattern as before, only this time I cut out the front apron pieces as-is, instead of making them into one seamless piece. I added a yard (I think?) to the bottom of the back piece, and cut a long strip along the selvedge to create my ruffle. I didn't really keep track of the measurements, as I was working fast at this point. I made myself a pleating board out of freezer paper to help pleat the ruffle, after I'd hemmed it along both long edges:

I had seen someone else (I can't remember who) use painter's tape to keep the pleats together after pressing them, and I stole that idea and it works great!
I attached the ruffle to the lower edge of the front before attaching it to the back.

The pleats were a bit unruly after I removed the tape, so I sprayed them with vinegar and pressed them again.
 |
| Much better. |

This gave me a nice little train. But then I had an idea - what if the train was the bee's stinger? So I played with it, and found that if I folded the lower edge in half and stitched it closed, I got a point.

To keep it in place, I tacked the top of the seam to the skirt fabric:

It's very hard to see the tacking stitches, so I don't mind that they're big and messy. Plus, they get covered by a poof in the skirt created by another set of tacking stitches:

Which in turn get covered by another poof! There's a lot of forgiveness in the draping of a bustle overskirt.
Ok, where did I leave off with the bodice construction? I think I had assembled the black velveteen pieces. I don't have many more photos of the bodice in progress, though you can see in some of the earlier pictures of the overskirt and stripes that I had basted the finished top pieces to the black lining pieces to check the fit. I tried it on myself (over my corset to get an accurate fit), as well as my dress form (to ensure the top yellow stripe was sitting at the proper place).
After checking the fit, I took the basting out and attached the yellow pieces to the velveteen part - after stitching boning casings into all seam allowances and darts.

Trying it on again, I found a slight fitting error:

The top of my corset shows in the center front! :( Well, too late now to redo the whole bodice. I'd have to fix that later.
Then I added the black cotton lining, stitching along the center front and hem edges. At the hem I added piping made from a bias strip of the leftover black taffeta, mainly to make turning this edge right side out easier. Pressing velveteen is not as easy task, so if I could get away with not doing it I was going to. The piping gives me something to grab and pull the seam out to its proper place, if that makes sense.

I attached the top of the black cotton lining to the seam by hand.

The center front fastens with black hooks and eyes. And here's how I solved my corset-showing issue:


On the day, I simply pinned the extensions in place. I might someday add snaps if I wear it again, but pinning it worked just fine.
And here's the finished product!

 |
| Little stinger tail! |
I accessorized with a rectangle of cotton bobbinet that I quickly edged with lace to make a last-minute shawl, my American Duchess Victoria carriage boots, and these awesome new stockings I got from Historical Twist:

I wore earrings from Lady Detalle, and the necklace that I made as part of the Hogwarts Tea scavenger hunt. It doesn't really fit the theme, but it fit the neckline. :p

I'll post more pictures from the party soon - including my tintype!


