 |
| I finally learned how to do French Knots! |
 |
| Pay no attention to my messy room - or the cat. |
I finished the petticoat just in time to wear it with my newly-completed Curtain-Along Cloak, which you can see in my previous post. The petticoat is nothing super special, and didn't merit a blog post on its own - plus I didn't have time - so I decided to include it with my pocket, which I just finished tonight!
 |
| The pocket tied on my dress form, over my ruffled petticoat. It would normally be worn under all petticoats, but then I couldn't show off the embroidery! |
 |
| A nice closeup for your viewing pleasure |
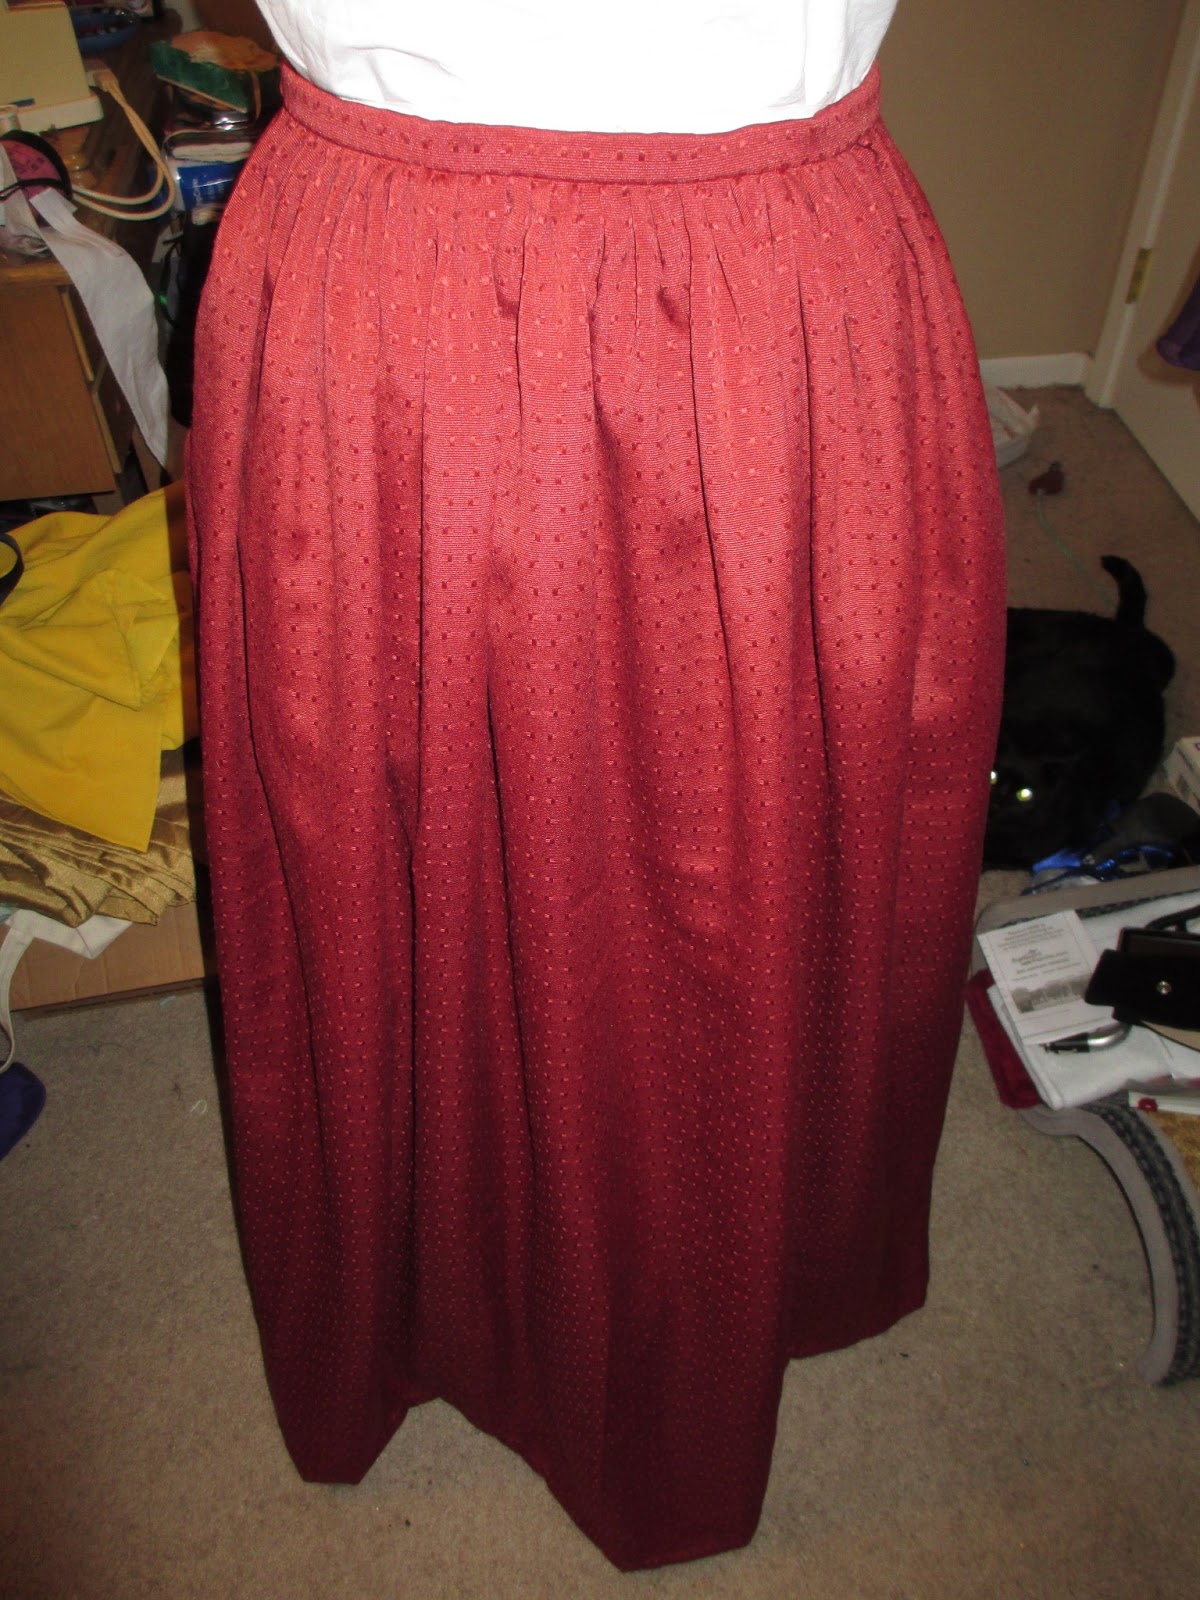 |
| The petticoat on the dress form, with flash. We're still ignoring the cat. |
 |
| The pocket peaking through the petticoat pocket slit. |
Belated edit:
I have decided that the pocket is my project for the Historical Sew Fortnightly Under it All challenge, since I finished neither my shift nor my stays in time. And I didn't even start the panniers. :( Anyway, here's all the pertinent info:

The Challenge: #3 Under it All
Fabric: unbleached muslin
Pattern: based on Simplicity 3635
Year: 18th Century
Notions: floral bias tape from Wrights - got it years ago in one of those grab bag packages of trims you used to get if you sent in 3 labels and $4.00 (does anybody know if they still do that?) - and miscellaneous embroidery thread from stash
How historically accurate is it? Fairly, I think. Many pockets of the time were embroidered, and all those I've found in my research seem to have been bound in bias tape or something similar. The vertical slit seems to be pretty common, too. I'm not sure about the design and the embroidery techniques I used, but regardless I learned a lot about embroidery through this project. Let's say 80%
Hours to complete: probably 3-4 for the construction (it's all sewn by hand) and roughly 15 for the embroidery
First worn: Not out and about yet, but I did put it on with my petticoats Friday night after I finished the last of the embroidery.
Total cost: All items came from my stash, so basically $0.00
Very nice job. The design is not quite of the period, but all the stitches, except for the lazy daisy, were used in the 18th C. Pockets could be worn under just the skirt of the gown/jacket or under just the top layer of petticoats. This could be done in order to allow peeks at the beautiful embroidery (which can be seen in many prints and some paintings of the period), but also to help prevent pickpockets. There are many records of the time that tell of the thief reaching up under the petticoat and cutting the pocket free from its ties or simply slitting the pocket. I have to believe these thieves were taking advantage of the use of hoops that held the petticoats out and away from the body, thereby reducing a woman's awareness of what might be going on 'down below.'
ReplyDeleteI don't know if you lined your pocket, or not. If you didn't, I would highly recommend it. I learned through experience that what goes in your pocket can cause more damage to the back-side of the embroidery than the wear that the exterior of the pocket receives. After all of your hard work, it would be a shame if it didn't last.
Good tips, thank you! I will definitely take your advice and line my pocket, and all future pockets I might make. Interesting info on pickpockets, too!
Delete