Showing posts with label Trafalgar Ball. Show all posts

Thursday, February 28, 2019

The Mad Chemisette

Before I could wear The Mad Dress to last year's Regency Society Trafalgar Ball, I needed to complete the ensemble by making The Mad Chemisette!  I hadn't felt quite right wearing the dress without something underneath (besides my bodiced petticoat, which did not give quite the right silhouette) for a bit of modesty.  Plus I wanted to better match my inspiration image:


I used my old Simplicity 3635 pattern as a base:


But instead of cutting out the full length of the chemise in the pattern, I used the selvedges as my hem:


It only needed to be long enough to tuck into the bodice of my dress, after all.  My fabric was a very lovely, sheer, slippery silk chiffon, and I wanted to do as little sewing on it as possible.

I didn't use the sleeve pattern at all, but drafted my own with some very basic math.  First I used my measuring tape to make a loop that my hand could easily pass through without it being too wide, and added 1/2" for seam allowance.  I used this to mark the width at the hem of the sleeves (again using the selvedge), and also marked the center of the width, as well:


Then at the top (fold) of the fabric, I measured out how wide I wanted the top of the sleeve to be where it would attach to the shoulder of the chemisette:


After I cut away the main body piece, I folded the remainder over on the halfway marks between the top and bottom measurements:


I pinned the layers together, and cut both sleeves out at once:


(Then cut open the top fold to get two sleeves.)  This gave me a gently tapered sleeve that wouldn't need to be gathered at the top, and hopefully would give me enough room under the arms that I wouldn't need to add a gusset.  I assembled each sleeve using the mantua maker's stitch.  This gave me a lovely finished seam without extra work!  However, the silk chiffon was a bear to work with.  I was complaining about it on Facebook, and one of my friends suggested using some (unflavored) gelatin to "starch" the fabric to make it easier to work with.  This worked remarkably well!  Here is the tutorial she linked me to:  threadsmagazine.com

The top sleeve was treated with gelatin before sewing; the bottom one was not.
I already had the same gelatine that the tutorial used in my pantry, so I figured why not give it a go?  Since I had already cut out my pieces (and sewn one) I didn't want to immerse my fabric completely.  So I modified the technique to work for me.  I dissolved 1/2 tsp gelatine in a cup of water, and painted it onto the edges with a soft paintbrush.  Then once the edges had dried, I pinned them together and sewed like normal.

It made a huge difference!  On the first sleeve, I had to hand-baste the edges together, pin it every inch, and it still fought me the entire way.  With the second seam, treated, I didn't need to baste it!  And the whole thing lay much more flat and neat when it was done.

I used the same treatment method and mantua-maker's stitch to attach the sleeves and sew the side seams, then I added a channel to the neckline for the drawstring.  I used bias strips of cotton voile left over from another project.  I used 1/4" twill tape for the ties.


Simple!  However, I didn't want the ties of the drawstring to hang down on the inside, so I tried it on and drew up the neckline until it sat where I wanted it.  Then I trimmed off the extra twill tape and sewed the ends together permanently.  There is still quite a large enough opening to get it on over my head with no problems.  In the car on the way to the ball, I stitched the gold braided trim along the top, covering the drawstring casing.  It's not perfect, but it worked.


The full look:


I would have liked more square corners at the front neckline, but all in all I think I did a pretty good job of bringing this particular look to life.  It was such a fun project, and very silly and fun to wear!

The dress fits much better with my stays underneath, which makes sense since it was drafted over the stays.  And I felt much more covered with the chemisette!


Left - at the Regency Ladies' Retreat with a bodiced petticoat underneath

For the ball, I threw together a makeshift turban in the car, using the leftover blue silk strip from cutting the skirt to length, wrapped with the remaining gold braided trim I had just used on the chemisette neckline.  I pinned a butterfly brooch to the side and stuck some feathers in behind it!


I love how it turned out, but I know I'll never get it to look that good again.  :p  And it was heavier on the side with the brooch, so it kept drooping and sliding throughout the night, which was annoying.  It never quite felt secure on my head, which is unsurprising as it was held together with safety pins and attached - very loosely - to my hair with bobby pins.  But darn it if it didn't look cool!

Here are some more pictures from the ball - I don't have enough to do a full post on it:

Brian the Engineer wore his Black Wool Tailcoat, Purple Velvet Waistcoat, and new trousers.


We got a group shot of all the ladies wearing blue - there were a lot of us!


And then one of Stephani, me, and Stacy in our nearly-identical-color silk gowns:


One other addition for the ball was these shoe clips to match the lace medallions on my skirt:


Monday, December 7, 2015

RSV Trafalgar Victory Ball

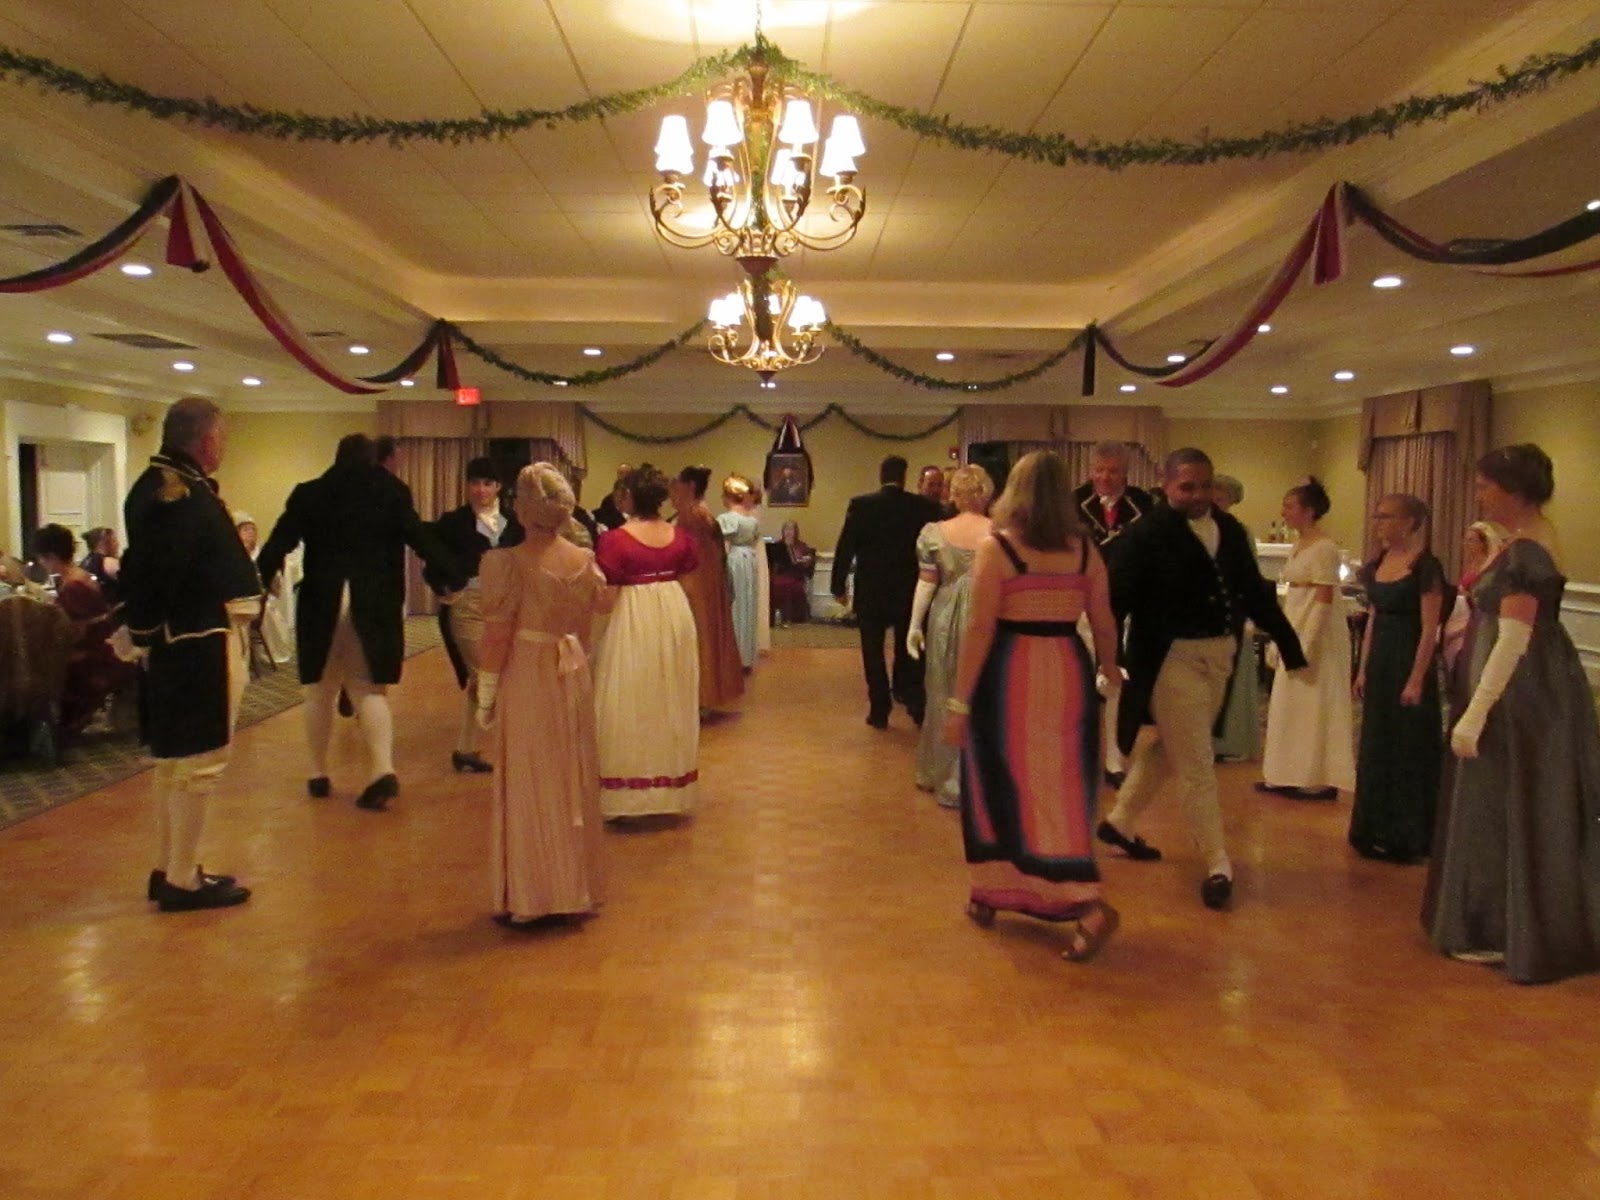
October 24 - once again it was time for the annual Regency Society of Virginia's Victory Ball!  This year it was held at the Country Club of Petersburg.  It was a very lovely venue, with lots of space for dancing: 


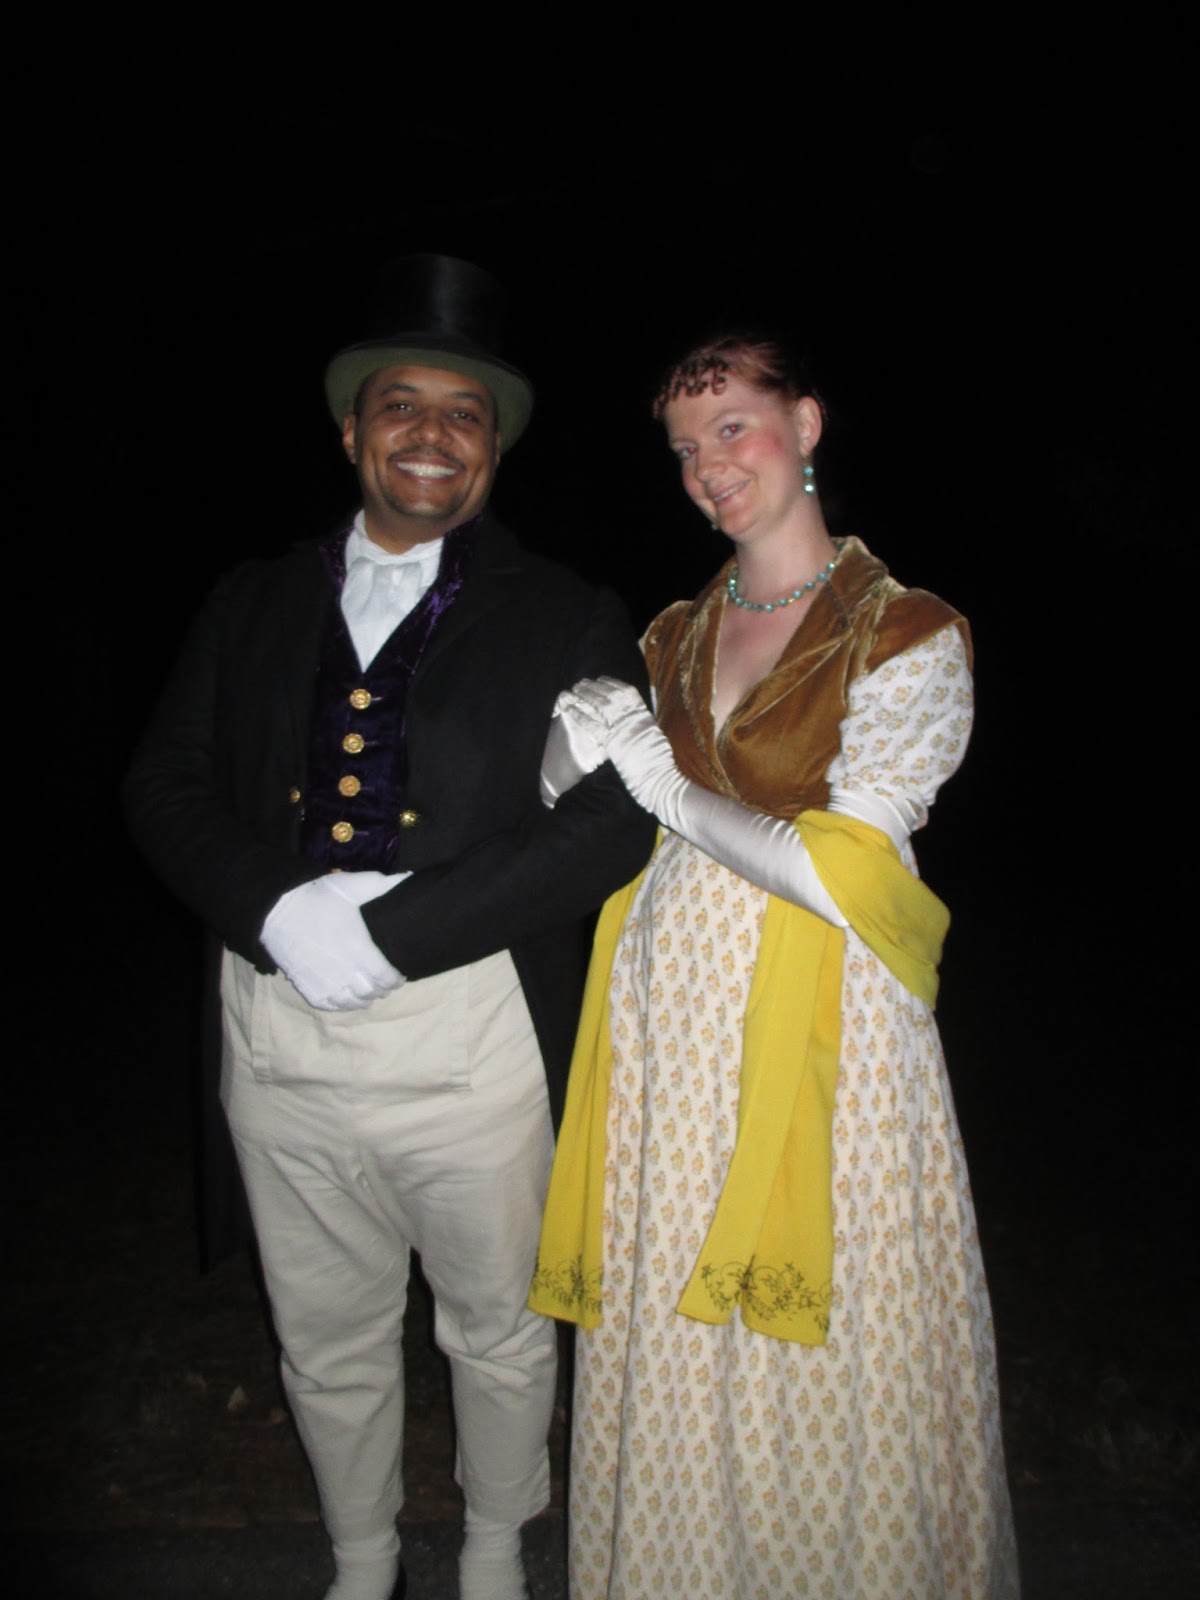
Brian the Engineer looked quite dashing in his Black Wool Tailcoat and new Purple Velvet Waistcoat:


There were once again baskets of goodies for silent auction:


More dancing:


And in a side room there were tables set up for various card games, for those who wished to play.  Brian and I found a new friend, Lynn, to play Cribbage with:


This is me winning by a nose!  I never win at Cribbage!  :D
I had procrastinated somewhat on our new wardrobe pieces that I ran out of time to make myself a new gown.  But I got Brian's new waistcoat done!  That was the priority, as he hadn't had anything new in... Well, a year.  :p


I wore my new Yellow Sprigged Dress, which is not exactly a ballgown, so to dress it up a bit I added my Gold Velvet Spencer without the sleeves.  I also wore my long silk gloves and my gorgeous collet necklace and earrings from Dames a la Mode, and brought along my Yellow Embroidered Shawl in case it got cold.


Brian's trousers, shoes, and hat are the same as he wore to the last ball, but the linen cravat is new. 


I experimented with a new hairstyle, adding braids for interest:


Oh, I forgot to mention that the food was excellent!  I was too busy eating to take any pictures of it, though. 

Monday, October 13, 2014

We Party Like It's 1805

The Regency Society put on a fantastic Trafalgar Day Ball on October  4!  Brian the Engineer and I attended, with new duds which I'll blog about soon:  


There was much dancing.


And festive decor:

"England expects that every man will do his duty"
I helped put together baskets of items donated by fellow RSV members, which we raffled off as prizes.

Our talented musicians


And there was a polar bear, of course.


All of the ball planning committee members who were in attendance were given special recognition:


And, naturally, posed with the polar bear.


I wore my new Green Sari Open Robe over my White Apron-Front Gown, and my new aquamarine collet necklace and earrings from Dames a la Mode.


Brian wore his new Black Wool Tailcoat with the Trousers I made just in time for the duel, and the white shirt and Green Brocade Waistcoat he's worn previously.  I still need to blog about all of his clothing items.  His shoes and buckles are also new, from Burnley & Trowbridge.


And we had fun playing around with the sonic screwdriver and the polar bear.  :p


As usual, there are more photos on Facebook.